Опубликовано15.03.2026
Обновлено29.05.2026
Другие модели автора
Все модели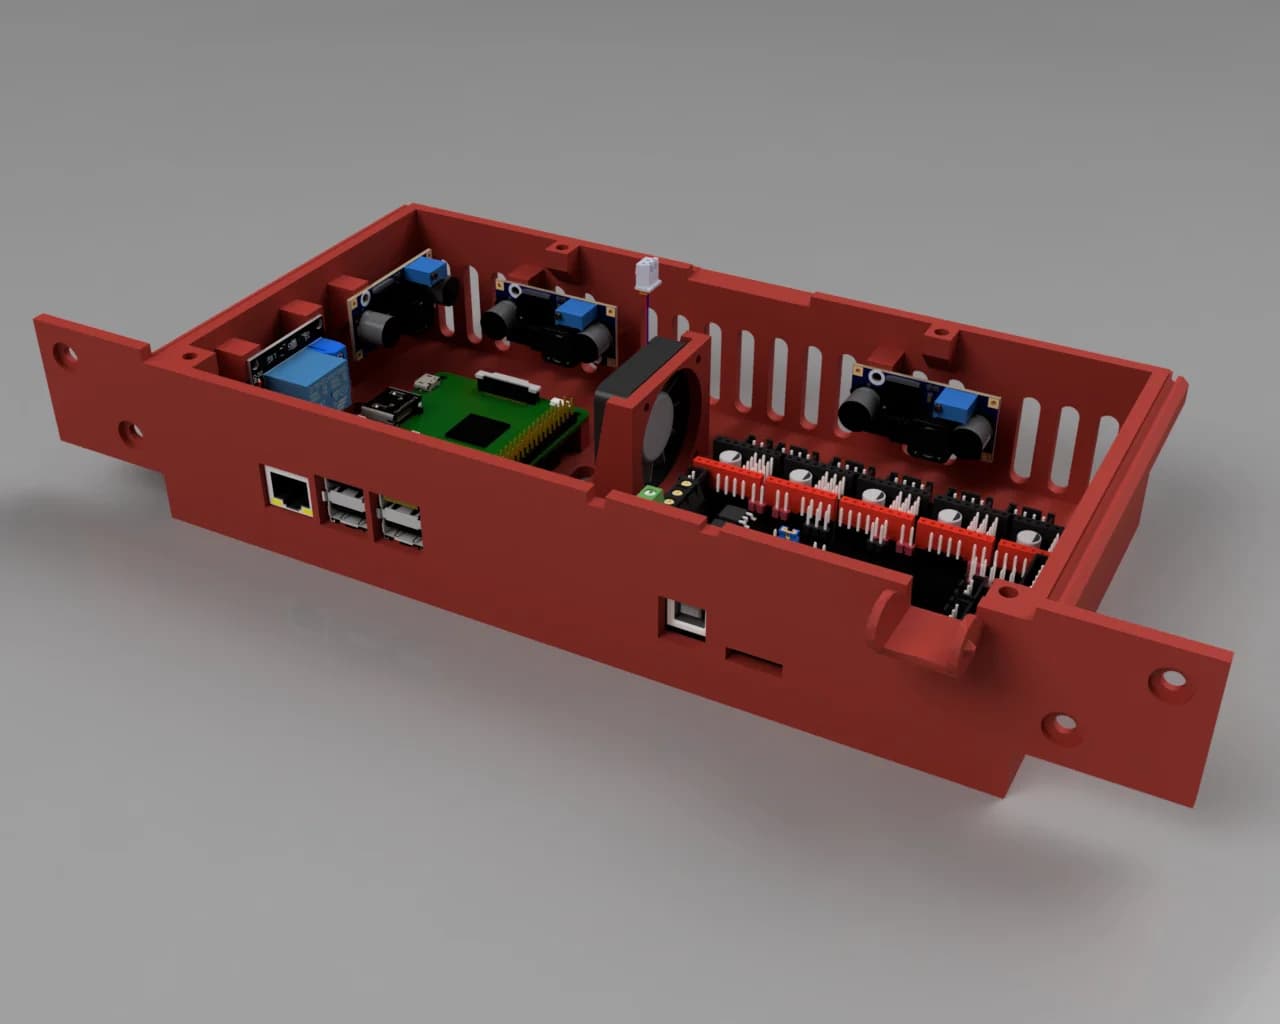
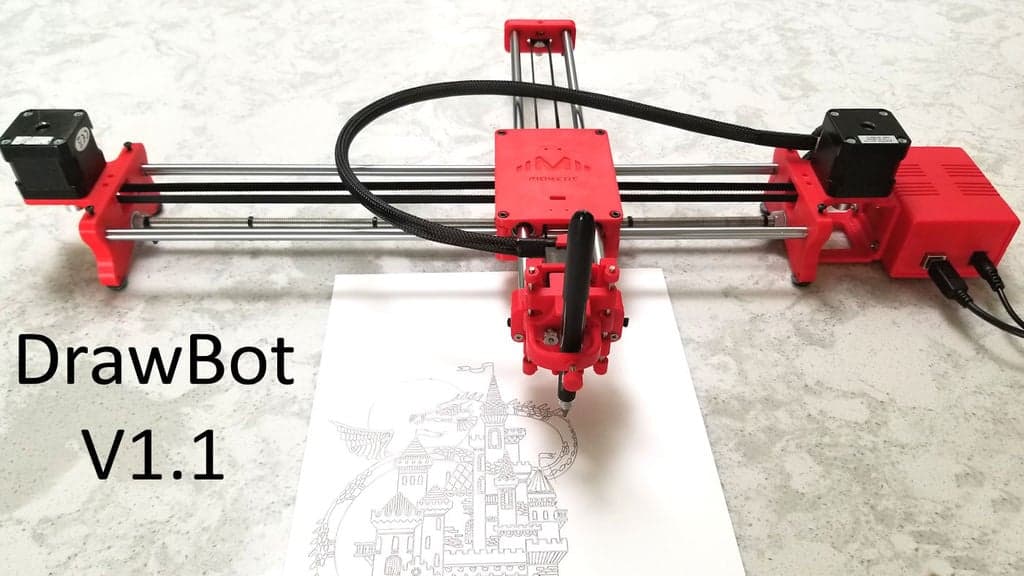
Скачать Рисующий робот — Arduino Uno + Cnc щит + Grbl — 3D-модель для печати на 3D-принтере
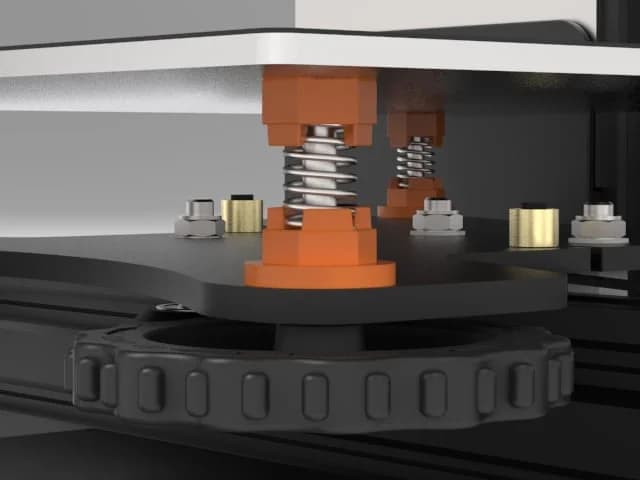
Скачать Рисующий робот — Arduino Uno + Cnc щит + Grbl — 3D-модель для печати на 3D-принтере. Файл загружен автором Katalog3D на маркетплейс Каталог3Д и доступен для скачивания в формате STL или 3MF.
Лицензия. Перед использованием ознакомьтесь с условиями лицензии в карточке модели. Одни файлы разрешают только личную печать, другие — коммерческое использование. Подробнее — в разделе лицензии.
Смотрите также: другие модели этого автора, похожие файлы по тегам — cnc, arduino, CNC Machine, grbl, drawing, pen holder, arduino robot, Arduino Uno, arduino drawing robot, axidraw, CNC Robot, CNC Plotter, drawbot, drawing arduino robot, drawing machine, drawing robot, GRBL Arduino, GRBL Shield, grblshield, pen plotter.